Contents
- How to Convert a Light Switch to an Outlet Safely
- Can You Change a Light Switch to an Outlet?
- Why Replace a Switch With an Outlet?
- Professional Process for Converting a Switch to an Outlet
- What Can Go Wrong? Why DIY Isn’t Worth It
- Can You Install an Outlet and Keep the Switch?
- FAQs About Light Switch to Outlet Conversions
- Call The Electricians: Trusted Colorado Pros
Trusted Colorado Electricians
How to Convert a Light Switch to an Outlet Safely
Got a switch you never use? You’re not the only one.

Plenty of homeowners find themselves needing an outlet where a light switch sits, especially in older homes with too few plugs for today’s power-hungry devices.
Good news: you can often convert a switch to an outlet.
But here’s the catch, it’s more complex than it looks and not always safe to DIY.
This guide breaks down when it’s possible, what’s involved, and why it’s often smarter to call a pro.
Can You Change a Light Switch to an Outlet?
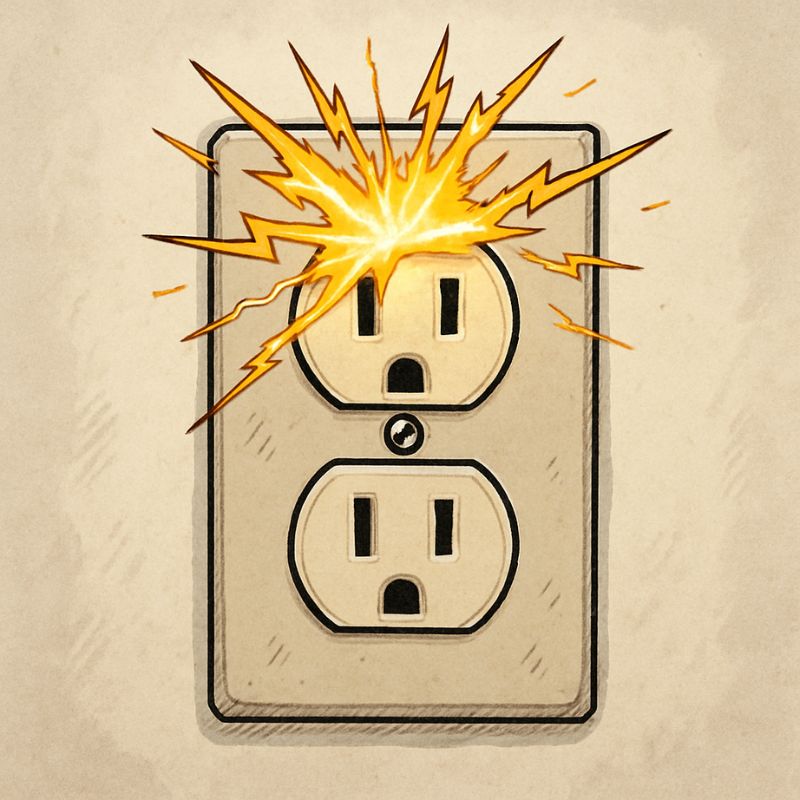
Yes, it’s possible. But you can’t just swap the faceplate and move on. Switches and outlets use different wiring setups. An outlet needs a neutral white wire, and if that’s not present behind your switch, you’ll need to add wiring or find another solution.
Another key factor?
Whether the existing circuit can handle the extra load. Plugging in a vacuum, heater, or power tool draws much more current than flipping on a ceiling light.
Why Replace a Switch With an Outlet?
- The switch controls a fixture that no longer exists
- You want to use the space for charging or appliances
- You need more plug options and wall space is limited
Just make sure the switch isn’t part of a three-way configuration or connected to an essential circuit like a hallway light or ceiling fan.
Professional Process for Converting a Switch to an Outlet
1. Cut the Power at the Breaker Panel
First, we identify the correct circuit and shut it off at the panel. Then we verify it’s off with a voltage tester. Never trust just the breaker labels, always test.
2. Remove the Switch and Inspect the Wiring
We remove the cover plate and mounting screws, then pull out the switch to expose the wiring. At this point, we inspect the condition and setup of the conductors, especially the black wires (hot), white wire (neutral), and ground.
3. Confirm a Neutral Wire Is Present
If the junction box doesn’t have a white neutral wire, we can’t install a standard outlet without additional wiring. This is common in older homes where switch loops were used.

4. Check Circuit Capacity
Before wiring anything, we confirm that the circuit won’t be overloaded. Using amperage ratings and wattage calculations, we ensure that adding an outlet won’t exceed 80% of the circuit’s safe capacity.
5. Wire the Outlet
Once we confirm the setup is safe, we disconnect the switch, connect the wires to the outlet terminals, and secure them in the junction box. At this point, we’re removing the light switch for good.
6. Install the Cover Plate
After wiring, we install a matching cover plate, restore power at the panel, and test the new outlet to ensure it’s working properly and safely.
7. GFCI Outlets and Code Compliance
If this outlet is being added in a location where water is present, like kitchens, bathrooms, or garages, we use a GFCI outlet. This protects against shock and is required under the National Electrical Code (NEC). Proper grounding is also a must.
What Can Go Wrong? Why DIY Isn’t Worth It
- No neutral wire: Without one, the outlet won’t work and can’t be installed safely.
- Hot and neutral reversed: Connecting wires incorrectly can destroy your devices, or worse, cause electric shock.
- Overloaded circuits: Adding outlets to a full circuit increases fire risk.
- Missing GFCI protection: Required in certain rooms and absolutely essential for safety.
- Grounding problems: If your home has outdated wiring, the outlet may not be grounded correctly.
Bottom line? If you’re not completely sure of what you’re doing, it’s better to call a professional than risk costly repairs, or worse, injury.
Learn more about electrical emergencies.
Can You Install an Outlet and Keep the Switch?
Yes, you’ve got options beyond a full swap:
- Combo switch/outlet units: These allow both functions in one device.
- Switched outlets: Wire the outlet to turn on/off with the switch, perfect for lamps or Christmas lights.
FAQs About Light Switch to Outlet Conversions
What tools are required?
You’ll need a voltage tester, wire strippers, screwdriver, an appropriately rated outlet, and a cover plate.

Can I install a GFCI outlet where a switch was?
Yes, if there’s proper grounding and a neutral wire. GFCI outlets are often required by code in rooms with water exposure.
How do I know if my circuit can support an outlet?
Find the breaker’s amperage, multiply it by 120V, and use 80% of that number as your maximum safe wattage.
Is it legal to DIY this in Colorado?
You’re allowed to perform minor electrical work in your primary residence, but permits and inspections may be required.
Will I need an electrical panel upgrade?
Maybe. If your panel is already full or outdated, adding outlets can create problems. We’ll assess your setup and let you know if a panel upgrade makes sense.
Call The Electricians: Trusted Colorado Pros
Changing a switch to an outlet sounds simple, but it often requires more than a screwdriver and a YouTube video. If you’re unsure about the wiring, circuit load, or code requirements, don’t risk your safety or damage your home.
At The Electricians, we’ve helped hundreds of homeowners modernize their spaces safely and efficiently.
Let us take care of your switch-to-outlet conversion, so you can power what matters most without worry.
Related Posts
If you enjoyed reading this, then please explore our other articles below:
Electrical Panels in Colorado Homes
Many homes across Colorado, especially in Denver, Aurora, Lakewood, and Colorado Springs, were built with electrical panels that were never designed for modern power demands. Cold winters, EV charging, home offices, and newer appliances place added stress on older panels and breakers.
If you are noticing frequent breaker trips, buzzing sounds, or planning an upgrade like an EV charger or heat pump, a licensed Colorado electrician can evaluate whether your panel needs repairs or a full power upgrade.


